
Sending a Monthly, Fortnightly or Weekly customer statement via XERO accounting system (https://xero.com) follow the steps below
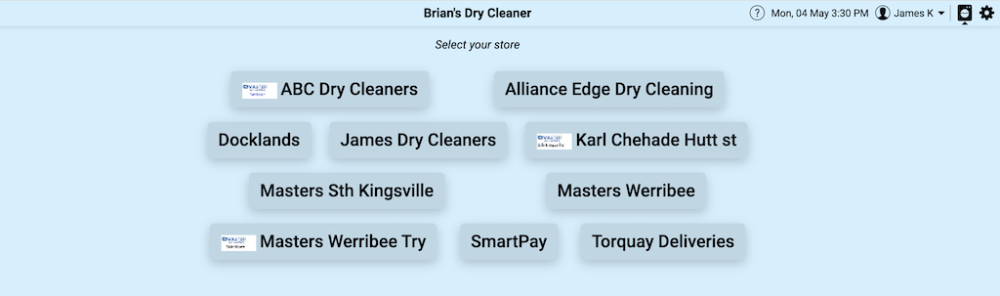
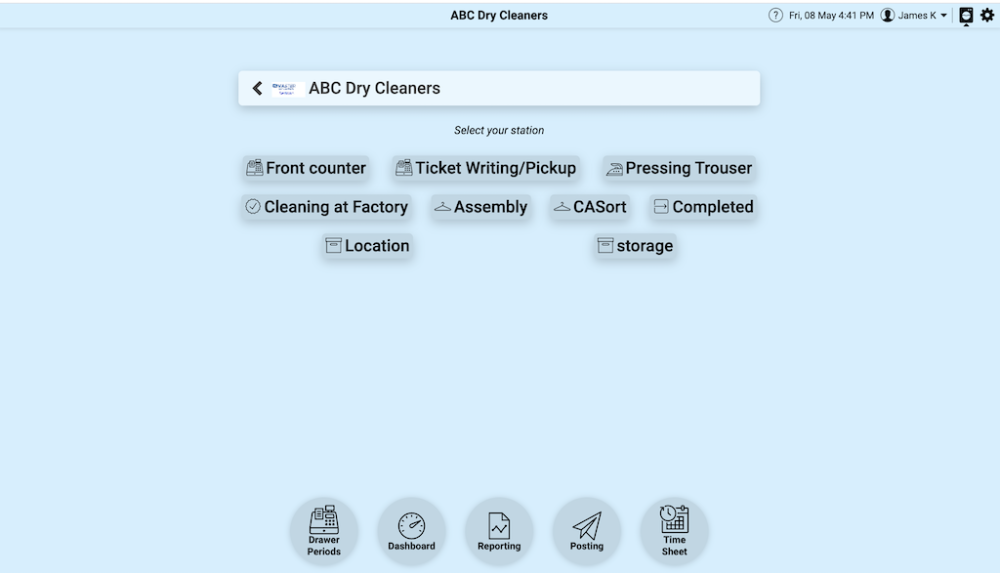
Select the Store, in this example ABC Dry Cleaners
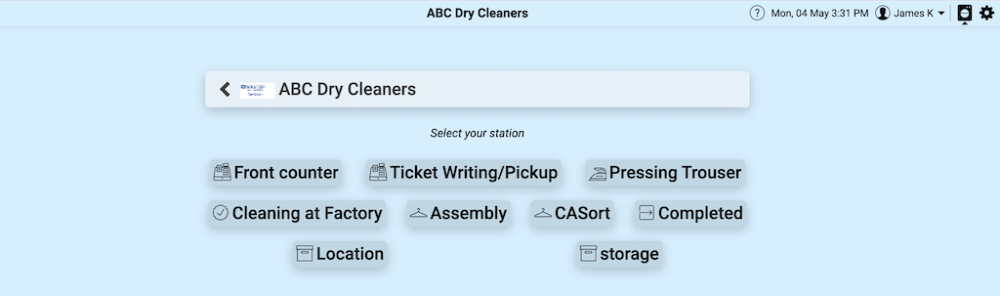
You will now see all stations that have ben previously created for ABC Dry Cleaner
Now go to Settings top right hand corner ![]()
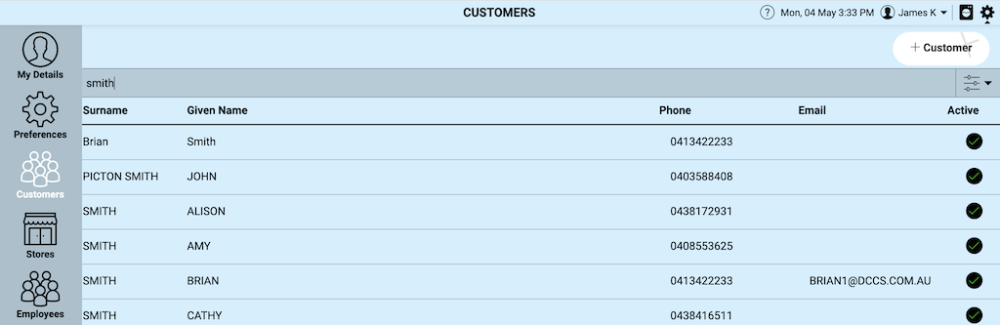
Select Customers in Settings shown on the left side of the screen. This will launch all customers for the store ABC Dry Cleaners.
You can choose to search a specific customer in the search bar at the top of the screen. In this case we will search out all customers with the name of Smith.
Either +ADD a customer (right hand corner of screen) or choose a customer you wish to link invoicing to XERO Accounting. In this case select Brian Smith as the customer
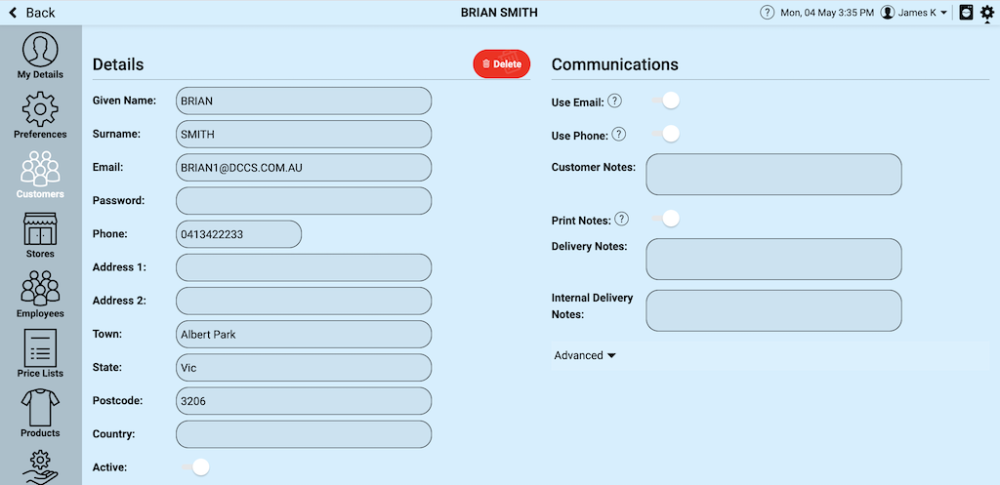
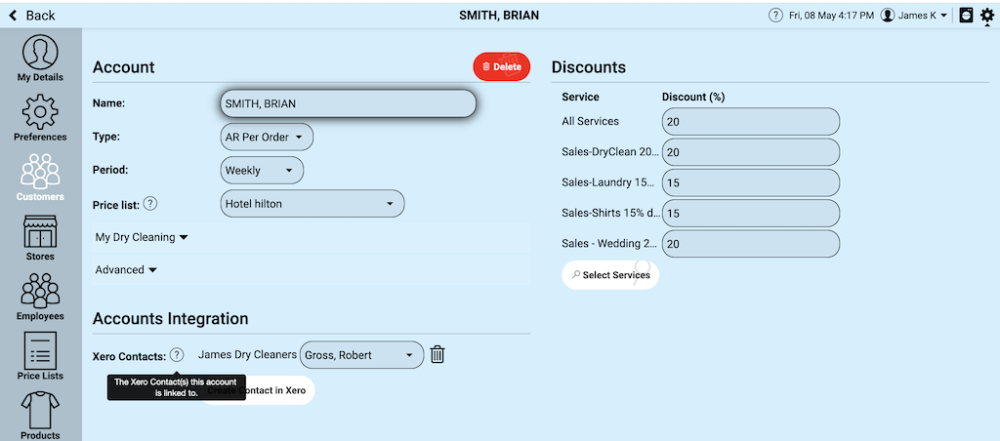
Brian Smiths customer record will launch as shown below
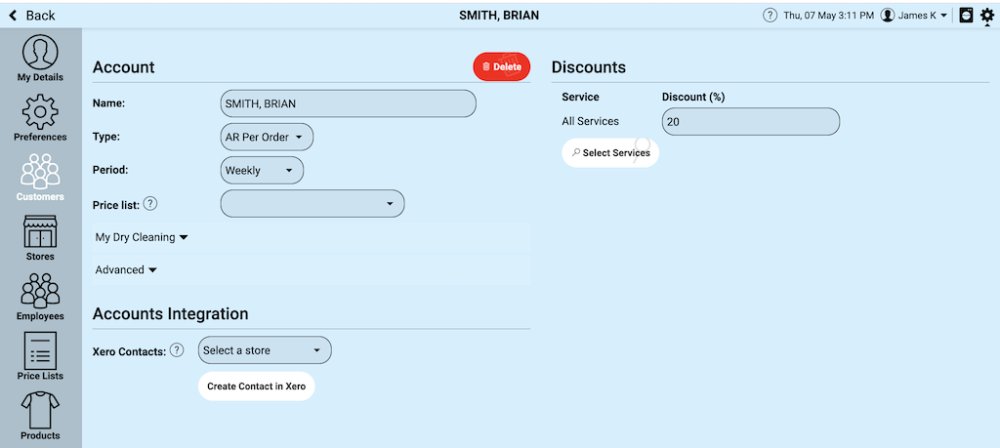
Scroll down to the bottom of the customer record screen until you see the Account section as shown in the screenshot below
You can select the type of account you wish to have for the customer:
- Cash Only account
- AR by Order account where each ticket will be sent to XERO as an invoice. The XERO invoice number is used as a reference to the MyCleanPOS Ticket number or send the MyCleanPOS ticket number as the XERO invoice number
- AR by Batch of invoices where you can post one invoice to XERO for a group of invoices
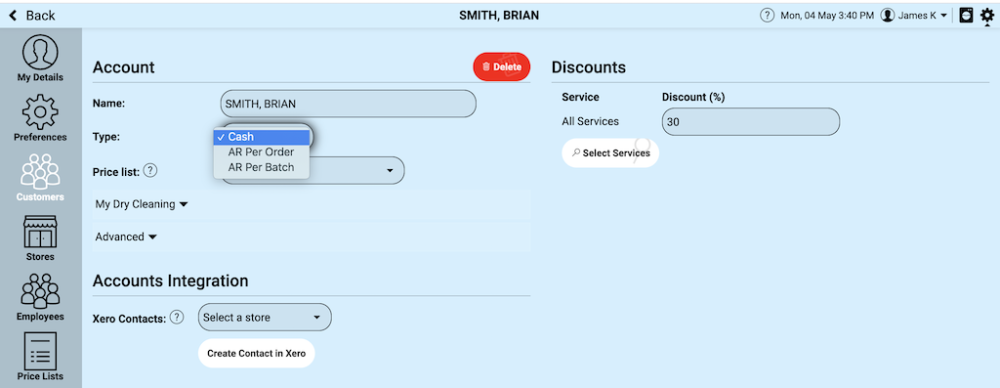
You can set the customer account with a Discount for all Services/Categories, or as a Discount per Category and map the different customer accounts.
The screenshot below shows a discount for Sales of All Services set at 20%
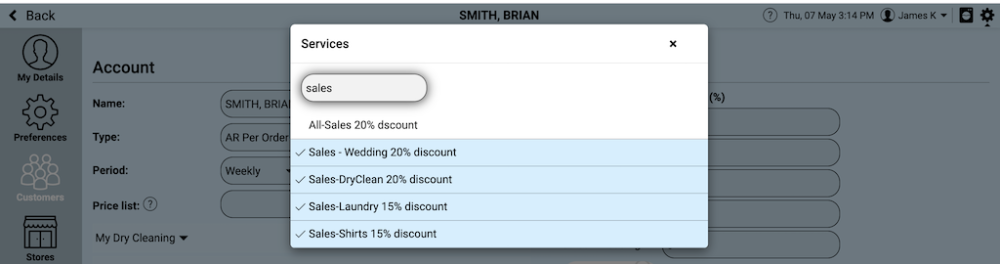
Select the Select Services button and you can select individual discounts for services/categories as shown below
You can now see that Discount for all Services/Categories and Discount per Category have now been set up for this customer account
All Services 20%
or
Sales-DryClean 20% discount/Commission
Sales-Laundry 15% discount/Commission
Sales-Shirts 15% discount/Commission
Sales-Wedding 20% discount/commission
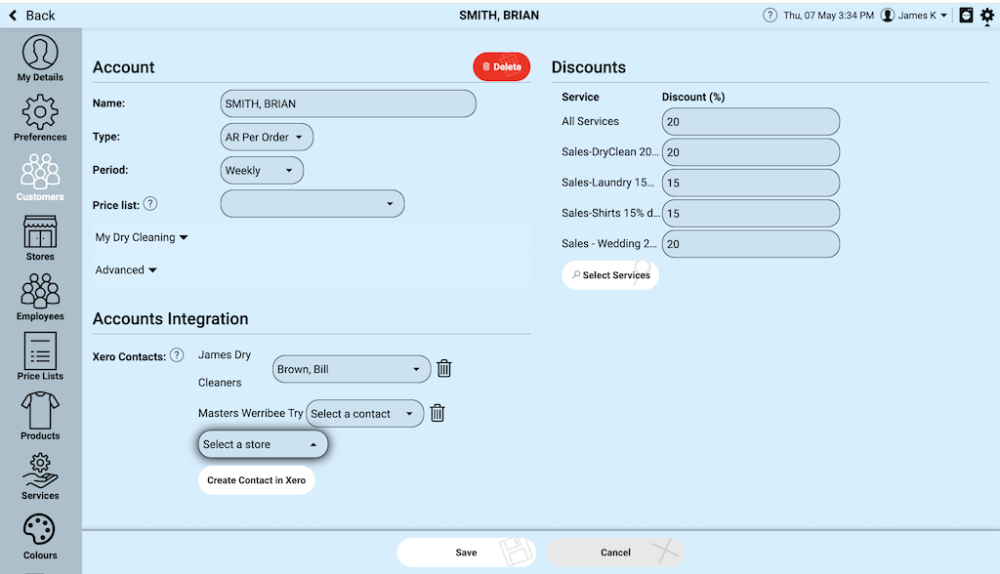
You can Link a MyCleanPOS Customer to an Existing Xero account – choose the Store – choose the account or you can click on Create Account. This will create and link the account in Xero
To Post Invoices you can setup the account as above with AR per Order and it will transfer the Ticket to Xero automatically if the Account is linked or created.
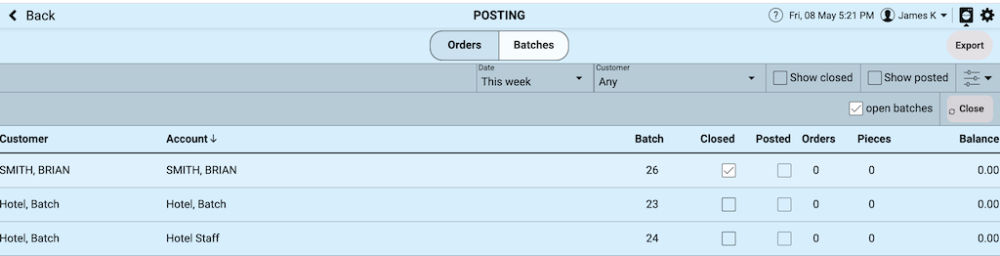
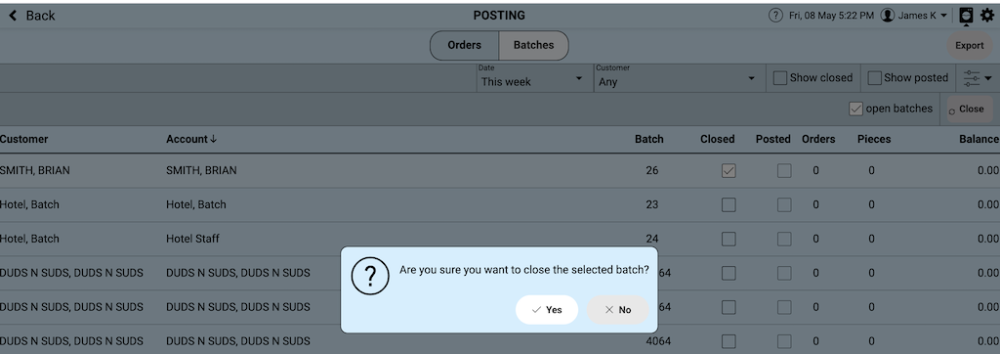
If you have chosen AR per Batch then you need to go into the Front Counter/Mark In area – Choose Posting at the bottom of the screen below
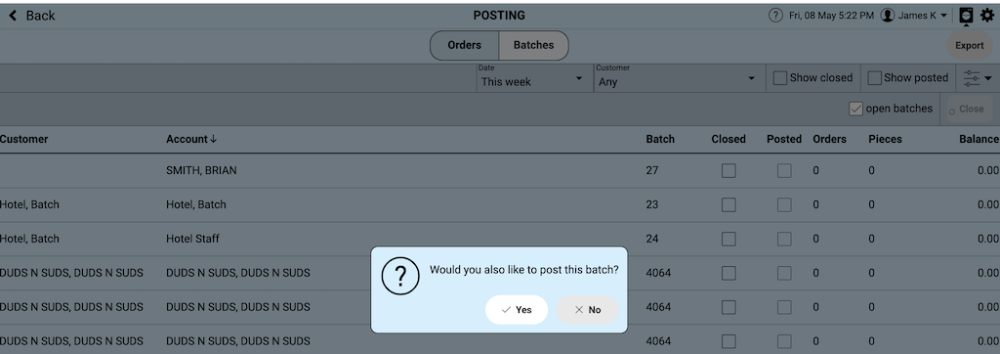
Choose Close Batch *and it will prompt you to *Post the batch to Xero.
Post your comment on this topic.